


HP LaserJet Pro MFP 4302fdn is an all-in-one laser copier machine. There are lots of connectivity options. If you are looking for the latest version driver, then you got a right place, here I have provided the latest version drivers for most of its supported operating systsem. I suggest you to go to the download section below and download the drivers according to your operating system version.
After download, you must know the right method to install this printer on a computer. To know the correct installation method, I have prepared the installation guide, follow the those instructions which is also given beneath the download section. So, let’s start the installation process by downloading the drivers first.
Advertisement
Download HP Laserjet 4302fdn Printer Driver
To install the driver, you need to click on the download link according to the version of your operating system.
| Drivers | Download Links |
| Full feature driver for Windows 11, 10, 8, 8.1, 7, Vista, XP, Server 2000 to 2025 | Download (Recommended) |
| Basic Driver for Windows | Download |
| HP Smart App for Windows | Download |
| Universal Driver for Windows | Download |
| Firmware for Windows | Download |
| Full feature driver for Mac OS 10.x, 12.x, 13.x, 14.x, 15.x | Download (Recommended) |
| Universal driver for Mac OS 10.x, 12.x, 13.x, 14.x, 15.x | Download |
| Firmware for Mac | Download |
| Full feature driver for Linux and Ubuntu OS (32bit / 64bit) | Download |
OR
Alternatively, you can download the same driver from HP’s official website.
How to Install Download HP Laserjet 4302fdn Driver
In order to install this printer on a computer, you just need to follow the following steps.
Before installing the drivers, you need to connect the printer to the router through WiFi or through a Network cable (LAN cable). Both the connections are given below, please check.
Network Setup (LAN Connectivity)
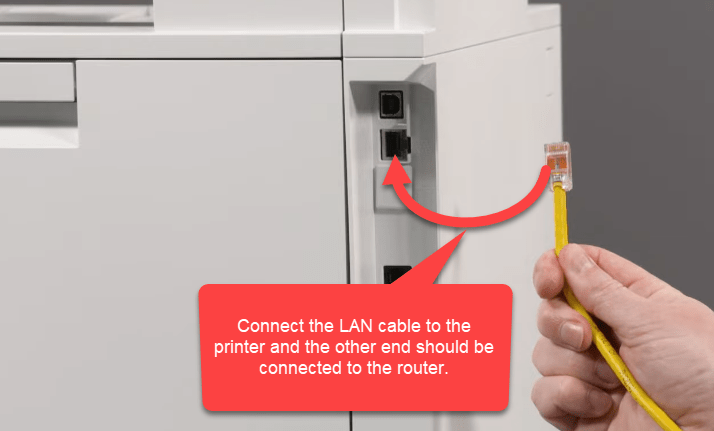
Step 1: Take a network cable and connect one side to your computer and the other side to the router (Internet router). If this physical connection is not possible then there is another method to connect to the router which is through WiFi connection. WiFi setup is also given below, just to WiFi setup section for that.

Step 2: After connecting it to the router. The router will assign an IP address to the printer through DHCP. For example, if the router’s IP is 192.168.0.1 and it assigns 192.168.0.2 to your PC and 192.168.0.3 to your laptop then router most probably assign 192.168.0.3 to this printer. So in this step, you don’t need to do anything, the router will do the job automatically.
Step 3: Execute the driver file and follow the onscreen instructions, the printer will be installed. To learn more, please go to the driver installation guide below.
WiFi Setup
Step 1: When you start this printer first time, it will ask for the setup. By following this, please select your preferred language.

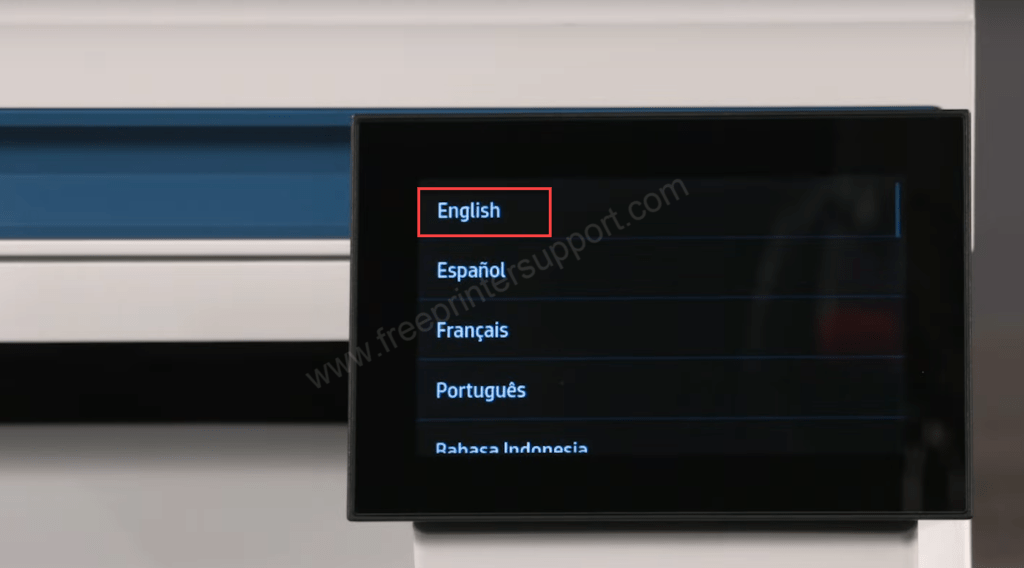
Step 2: Click on confirm.


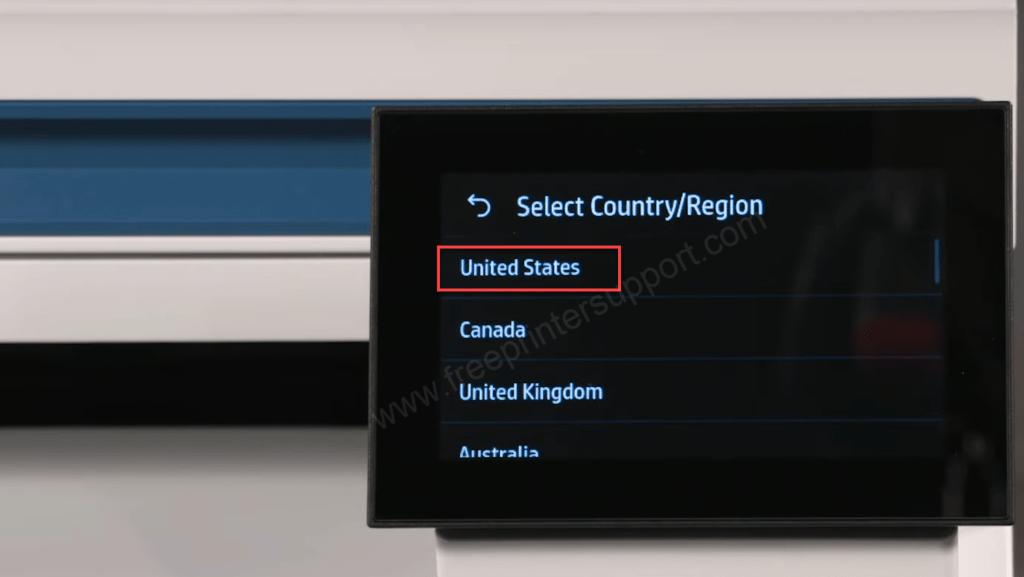
Step 3: Choose the country or region.

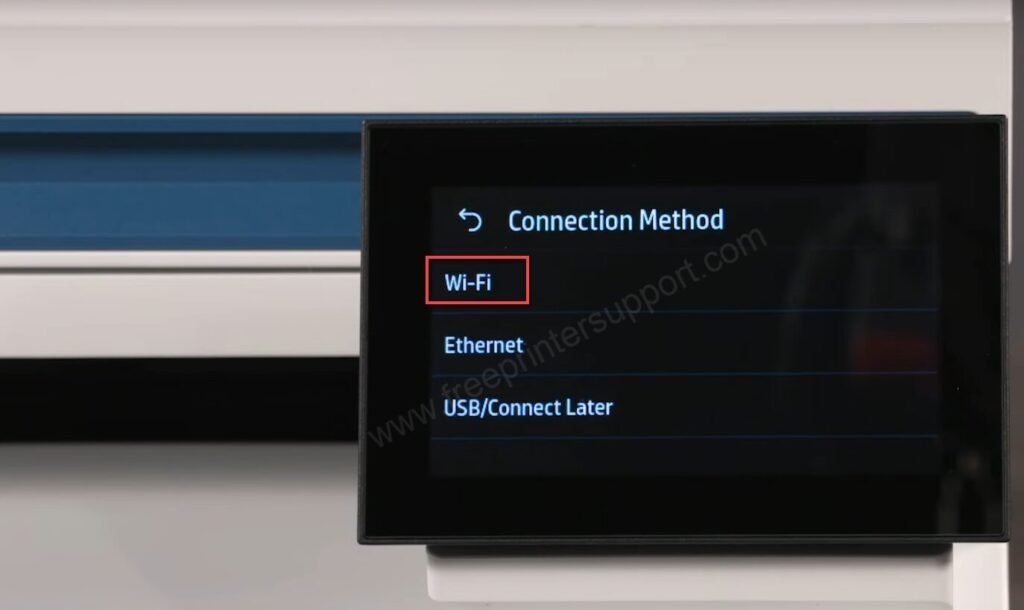
Step 4: Select WiFi option.

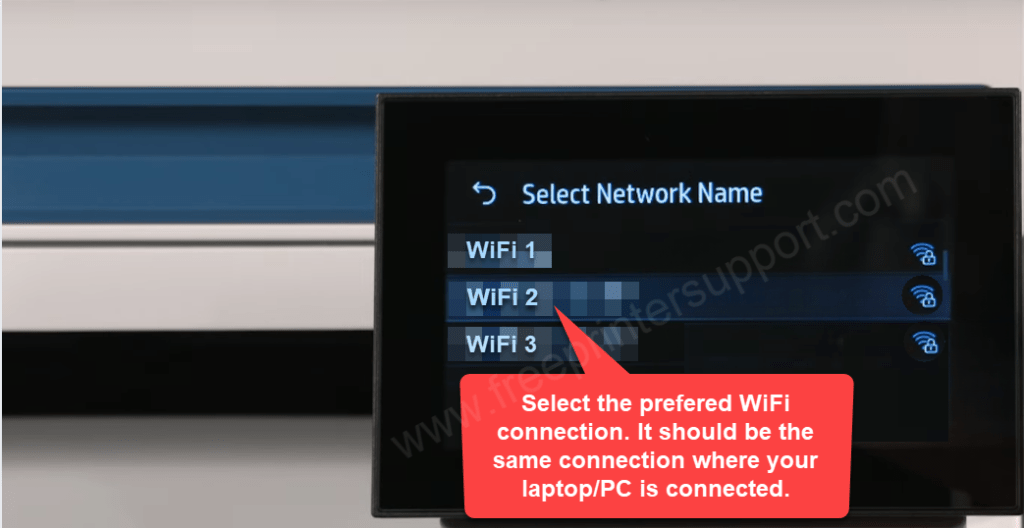
Step 5: Select your Wireless connection. Make sure you select the same the WiFi connection on which the connection you are connected right now from the laptop or PC. All the devices should be connected to the same devices. After selecting please wnter your WiFi password when it asks.

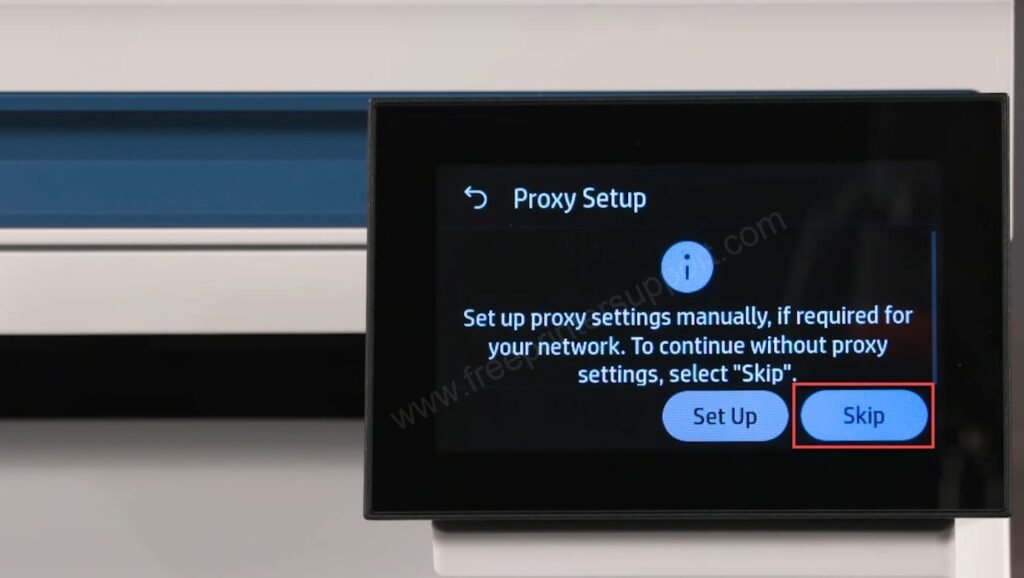
Step 6: It is asking to setup proxy settings, please click on skip to ignore it.

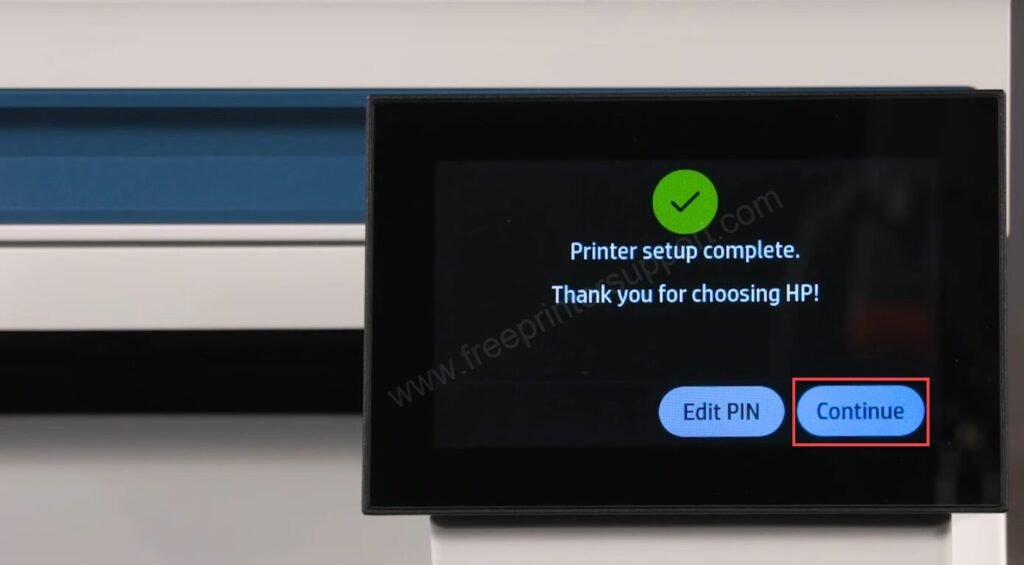
Step 7: Setup is complete. Click on Continue. Now, your printer is connected to your local network successfully.

Driver Installation
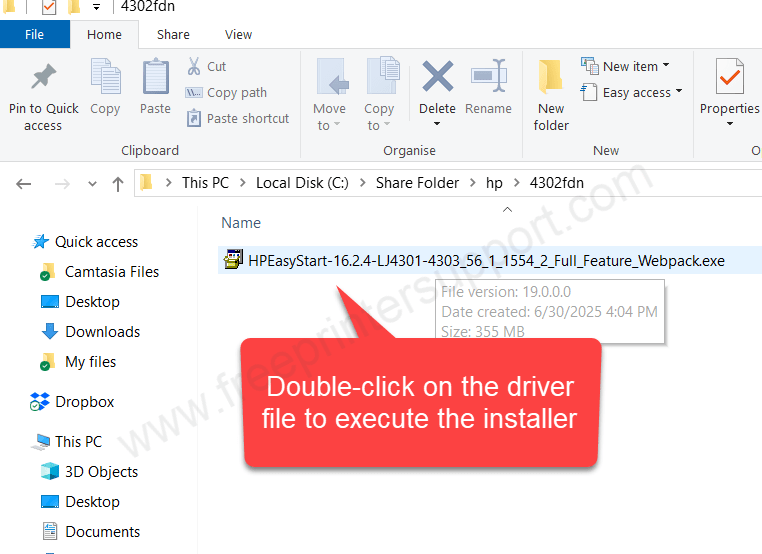
Step 1: Download this driver installer. Double-click on that to execute it. If you don’t have the driver file, please download it from the above given download section.

Step 2: It will ask for permission. Please click on Yes to continue.

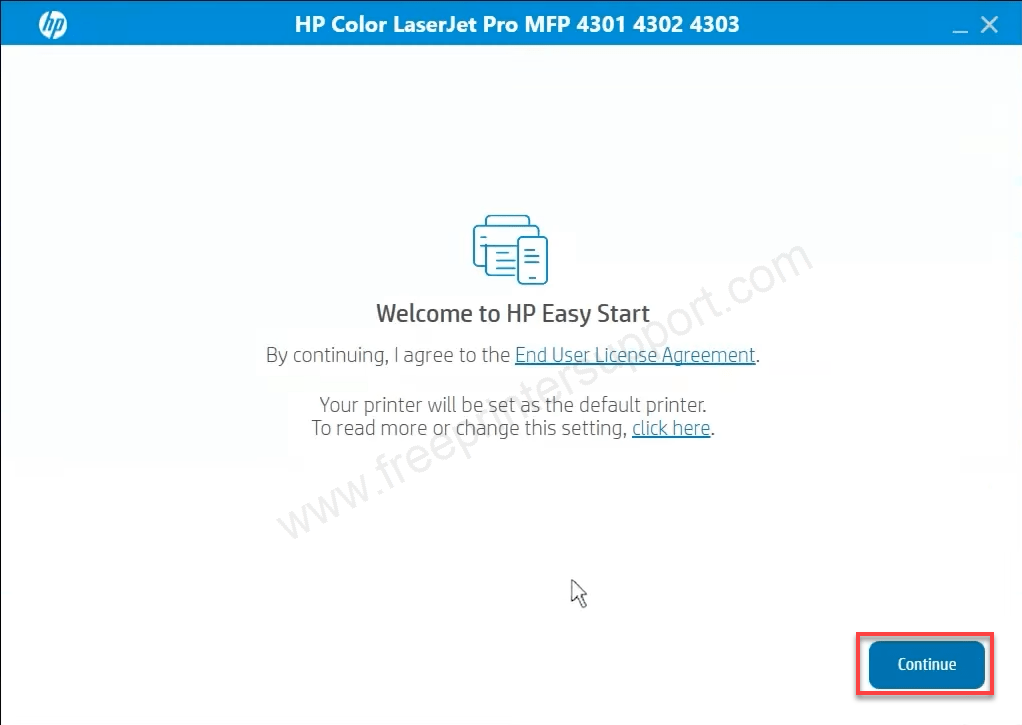
Step 3: Click on continue.

Step 4: Click on Yes to accept the terms and conditions.
Step 5: Now, it is searching for the printer.

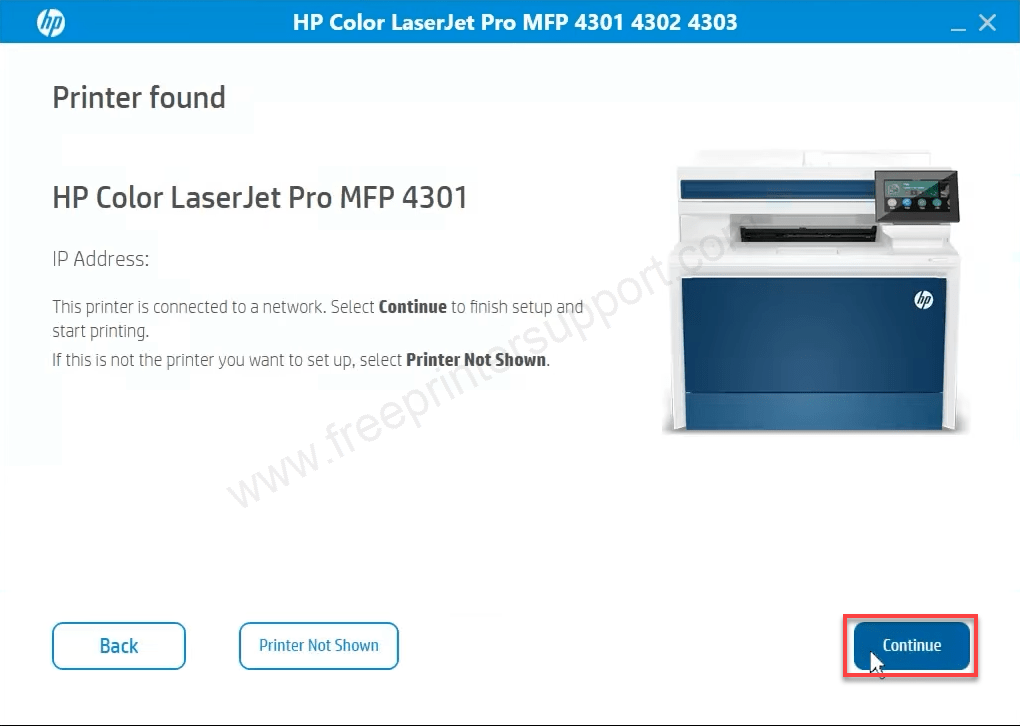
Step 6: It found the printer, please click on continue.

Step 7: Please wait while preparing the installation.

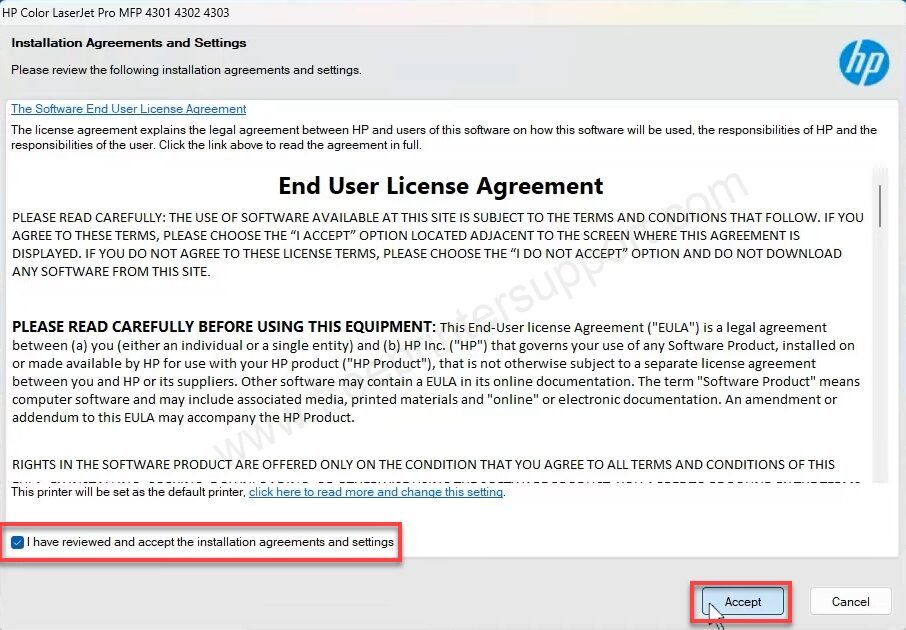
Step 8: Click on the checkbox to select it and click on the accept button.

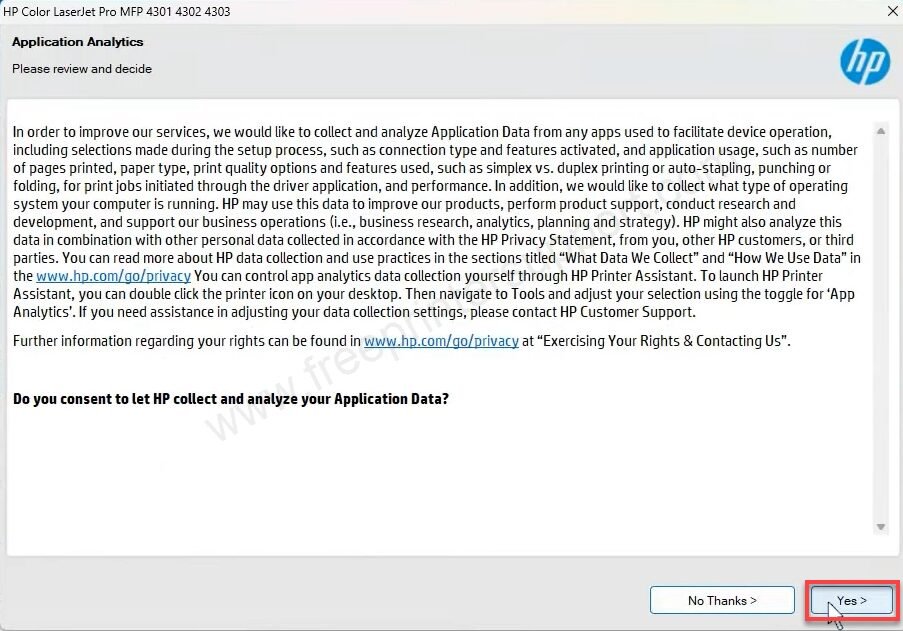
Step 9: Click on Yes.

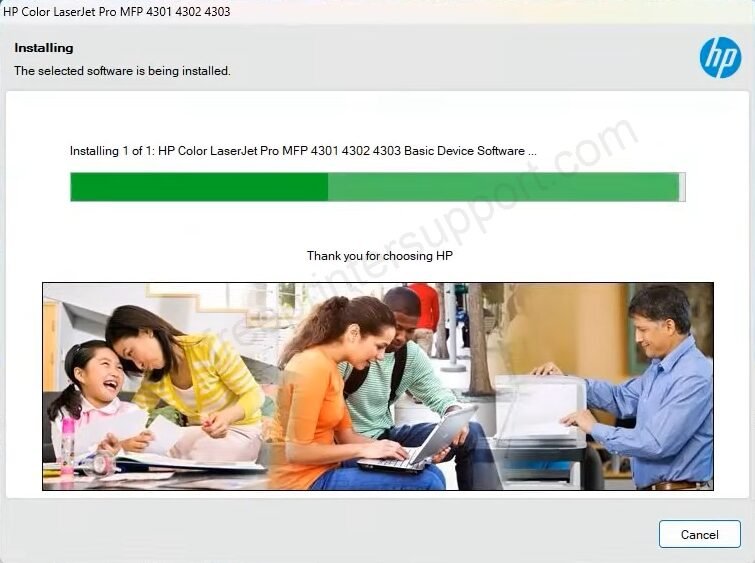
Step 10: It is finally start installing the drivers, so please wait for that.

Step 11: It is again searching the device.


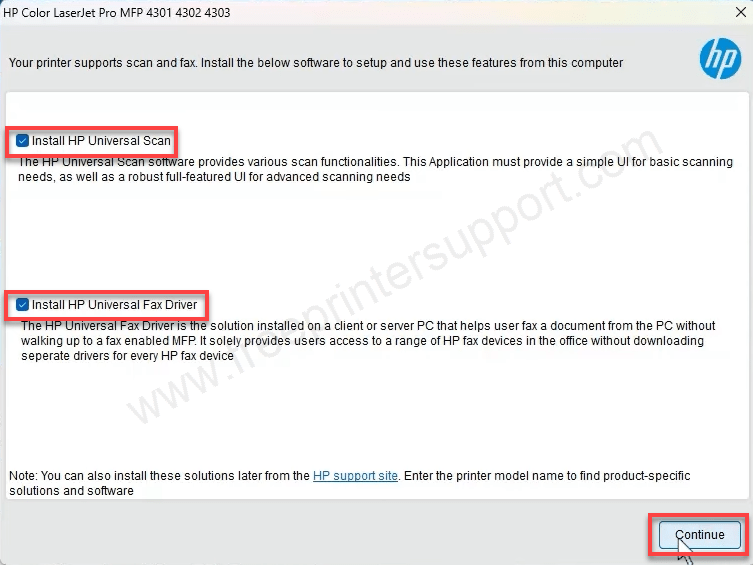
Step 12: Check both of the checkboxes: “Install HP Universal Scan” and “Install HP universal Fax driver” and then click on continue.

Step 13: The installation has been completed. Click on Finish.

Step 14: Please while it is processing.

Step 15: Setup completed. Click on Finish.

So this is how you can install HP LaserJet 4302fdn printer on your computer.
Specification
This HP LaserJet 4302fdn printer is a laser black & white printer. It is a standalone copier machine but you can install it on your local network, so that you can print, scan and fax from any of your computers from anywhere even wirelessly.
It has one big LCD display to navigate the printer settings. It has one processor 1200MHz and one RAM of 512MB. It has three connectivity options through the USB, Ethernet and Fax ports. It is an automatic duplex printer – meaning you can print both sides of the paper without flipping it manually.
The print speed of this printer is extremely good: 33 pages per minute with 600 DPI resolution. Copy resolution of this printer is the same 600 dpi and the scan resolution is 1200 dpi. It has two paper trays: one input tray which can hold 150 sheets and one output tray which can hold 50 sheets and one ADF automatic duplex tray which can hold 50 sheets. It has 4 ink laser cartridges: Black, Cyan, Magenta, Yellow. The model number of the cartridges are : HP220A/X.