The HP Photosmart C4683 all-in-one printer is designed to provide wallet friendly, high-quality prints to its users. The print quality of this printer can match professional quality, but to take the full advantage of all the features of this printer you must install this device by using its latest driver version released by the HP.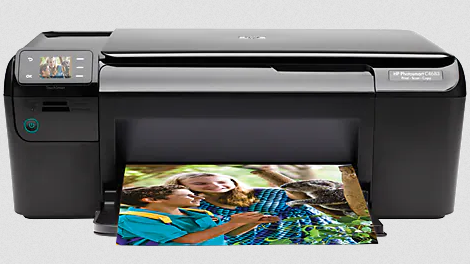
HP Photosmart C4683 Driver Download Links
Driver for Windows
HP Photosmart C4683 driver for Windows 7, Vista, XP (32bit/64bit)
Advertisement
HP Photosmart C4683 Driver Download for Windows – 142.0 MB
HP Photosmart C4683 driver for Windows 11, 10, 8, 8.1 (32bit/64bit)
HP Photosmart C4683 Driver Download for Windows – 137.0 MB
HP Photosmart C4683 driver for Server 2008, 2003, 2000
HP Photosmart C4683 Driver Download for Server – 142.0 MB
HP Photosmart C4683 driver for Server 2022, 2019, 2016, 2012
HP Photosmart C4683 Driver Download for Server – 137.0 MB
Driver for Mac
HP Photosmart C4683 driver for Mac OS 10.9 to 10.15, 11.x, 12.x, 13.x, 14.x Sonoma
Not Available
HP Photosmart C4683 driver for Mac OS 10.4, 10.5, 10.6
HP Photosmart C4683 Driver Download for MAC – 171.0 MB
Driver for Linux/Ubuntu
HP Photosmart C4683 driver for Linux and Ubuntu
Not Available
OR
Download the HP Photosmart C4683 driver directly from the HP website.
How to Install HP Photosmart C4683 Printer Driver
In this section, I have provided the detailed installation guide for the full feature driver and basic driver (inf driver). Select the installation guide appropriate for your HP Photosmart C4683 drivers, then follow its instructions to properly install your driver.
1) Install HP Photosmart C4683 Printer Using Full Feature Driver
I have prepared this guide to describe the installation steps of the full feature HP Photosmart C4683 driver on a Windows computer. You can use the installation steps given below for all the versions of the Windows operating system.
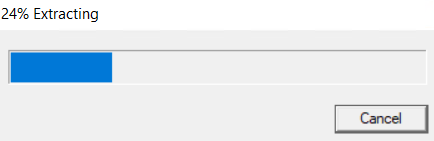
- Run the full feature driver file downloaded from this page and wait for its files to extract on your computer.

- In the Welcome screen, click on the ‘Install’ button to start the driver installation.

- Wait for the setup program to check your system for the driver installation.

- If the security software of your computer warns you against installing the drivers, then select the ‘Allow’, ‘Permit’ or ‘Yes’ option to proceed with the installation process. Click on the ‘Next’ button to continue.

- In the Review Installation Options screen, select the ‘I have reviewed and accept the installation agreements and settings’ option to accept all the agreements, then click on the ‘Next’ button.
- Wait for the setup program to check for the software and driver updates.
- Wait for the setup program to prepare your system for the driver installation.

- Wait for the driver installation process to complete on your computer.
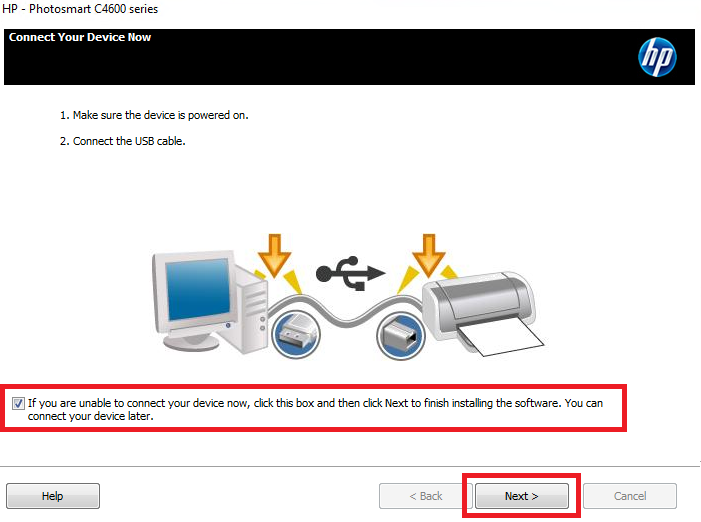
- In the Connect Your Device Now screen, if you want to connect your printer now, then use a USB cable to connect your printer with your computer and follow the instructions accordingly. Otherwise, select the ‘If you are unable to connect your device now, click this box and then click Next to finish installing the software. You can connect your device later’ option, then click on the ‘Next’ button.
- Wait for the setup program to configure your printer.
- When you see the message that software installation has completed succesfully, then click on the ‘Finish’ button to close the setup program.


That’s it, installation of the HP Photosmart C4683 driver package has successfully completed on your computer.
2) Install HP Photosmart C4683 Printer Using Basic Driver
There may be some users who would want to install this printer by using its HP Photosmart C4683 basic driver. All such users should read the article: How to install a printer driver manually using basic driver (.INF driver).
In this guide, I have explained in easy steps how to download and install the HP Photosmart C4683 driver on your computer. If you follow the instructions given above in their correct order, then you will be able to complete this task without any errors.