HP Officejet Pro 8125e is an all-in-one printer that can print, scan and copy. Yes, it has a Wi-Fi feature so that you can print from any of your Wi-Fi enabled devices like laptop, iPad, phone etc. It also has an auto duplex feature which can carry 35 A4 size papers. It is an ideal printer for homes and offices.
To use all these features through your computer, you need to install the latest version drivers. Although you can get the drivers from the driver CD that came with the printer but if any update comes after that then you have to download their latest drivers from its official website or you can download the same driver from the download section given below. This printer supports Windows 11, 10, 8, 8.1, 7, Vista, XP, Server 2000 to 2025, Mac and Linux.
Advertisement
So without wasting time, let’s go to the download section to download the drivers and then go to the installation section to know how to install the drivers.
Download HP OfficeJet Pro 8125e Printer Driver
To install the drivers you need to determine your operating system version first and then click on the below given download link according to the version of your Windows.
| Driver Details | Download Links |
| Full feature driver for Windows 11, 10, 8, 8.1, 7, Vista, XP, Server 2000 to 2025 | Download Driver |
| Firmware download for Windows & Mac | Download Firmware |
| Full feature driver for Mac OS 10.x, 11.x, 12.x, 13.x, 14.x, 15.x | Download Driver |
| Full feature driver for Linux (32bit / 64bit) | Download Driver |
| Full feature driver for Android | Download Driver |
Or
You may download the HP OfficeJet Pro 8125e Printer Driver from HP’s official website.
How to Install HP Officejet Pro 8125e Printer Driver
To know how to install this printer, follow the below given steps that I have prepared while installing the printer on my computer.
Steps:
Step 1: Double-click on the driver file (OJP8125_59_0_1853_1_Full_Feature_Webpack_v16.2.1.exe) to start the driver installer.

Step 2: It is start extracting the driver file.

Step 3: It is loading the printer. So you will have to wait here to complete it.

Step 4: Click on continue.

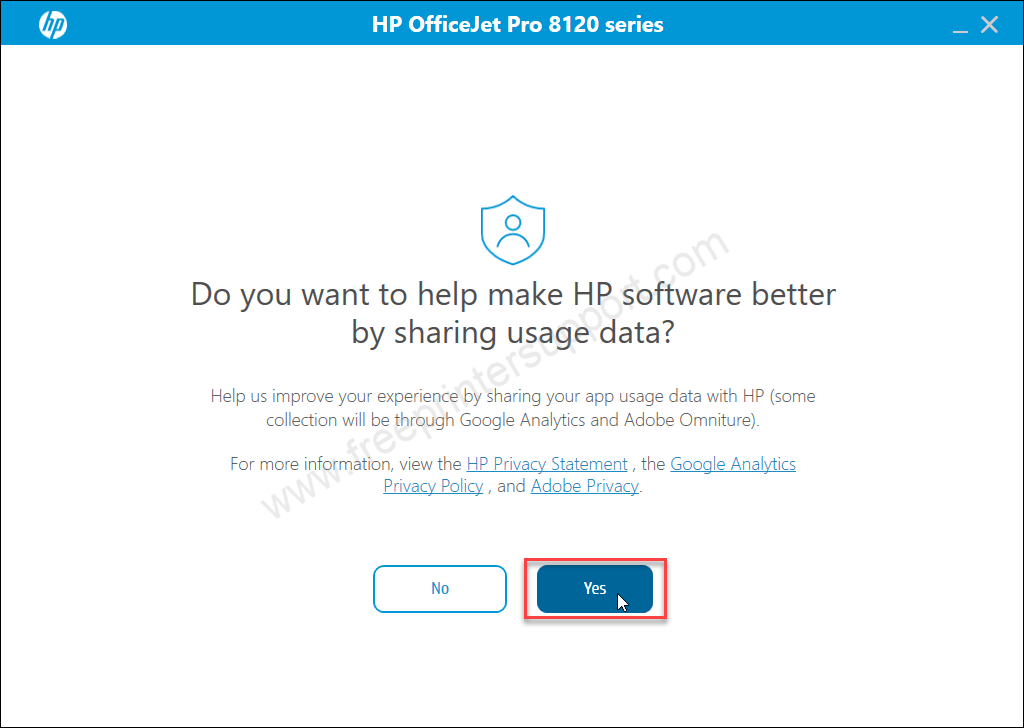
Step 5: Click on Yes.

Step 6: It did not find the printer, please connect your printer.

Step 7: Now connect the USB cable of your printer and make sure the printer is turned on properly. Once you can connect the USB cable of your printer to the computer, this screen will detect your printer connection and go to the next screen. Then click on the finish button to complete the installation process.

That’s it hope you have that idea to download and install the driver my following the given steps. If you have any doubts regarding downloading and installing the driver please share your experience or problem in the comment section below.

