Chrome OS is a preferred choice by users who own computers which are low on performance. However, the requirements of such users from their PC are the same as that of any other computer user. One such requirement is the ability to scan and save documents directly into their computer. Like performing any other task on a Chromebook, performing this task is also very easy if you know the right steps. In this guide, we will explain in simple steps how to scan documents through a printer / scanner on Chromebook.
How to Add Printer / Scanner to Chromebook
If your printer / scanner is not installed on your Chromebook, then connect your printer / scanner with your Chromebook and follow the steps given below.
Advertisement
- Click on the ‘Time’ in the bottom-right corner and choose ‘Settings’ from the options.

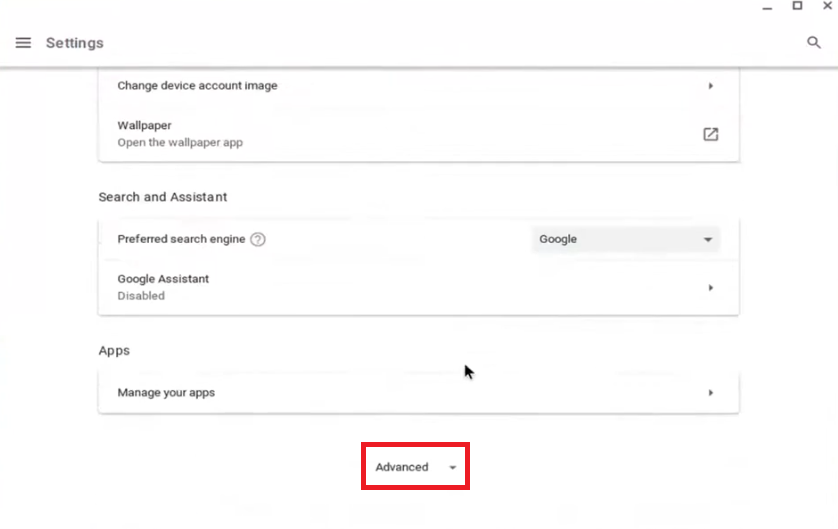
- In the Settings window, scroll down to find it and click on the ‘Advanced’ option.

- Now, scroll down to locate ‘Printing’ section and click on ‘Printers’ option.

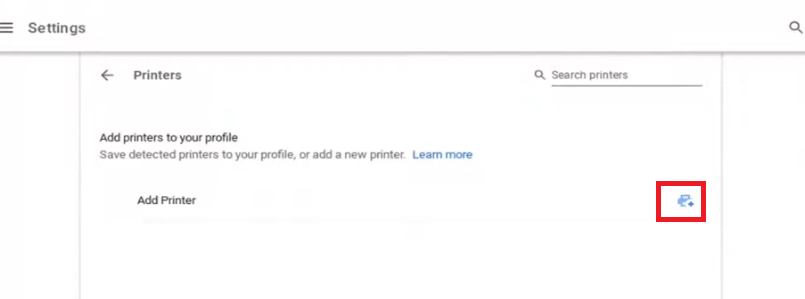
- If the Chromebook is able to detect your printer / scanner, then it will display it under Printers section. Just choose your printer and its ready for use. However, if your printer is not listed, then click on the ‘Add Printer’ option.

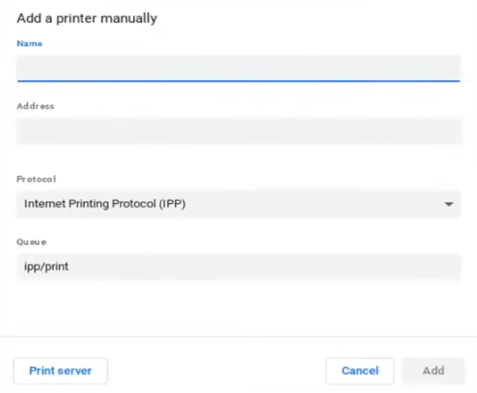
- In the Add printer window, enter the relevant details of your printer / scanner, then click on the ‘Add’ button.


That’s it, your printer / scanner is now connected with your Chromebook and is ready for use.
How to Scan Documents Through a Printer / Scanner on Chromebook
Before starting the scanning process, make sure that your printer / scanner device is switched on and ready to scan pages. Also, arrange for the documents you want to scan so that you can place them into your scanner as and when they are required to be placed.
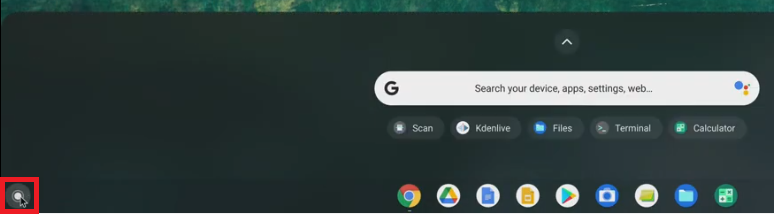
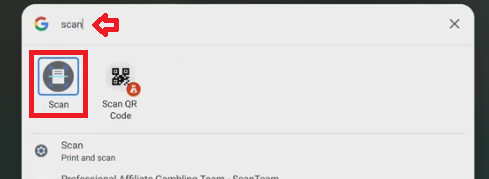
- Click on the ‘Circle’ in the bottom-left corner to open the search box.

- In the Search box, type ‘scan’ and click on the ‘Scan’ icon in the search results.

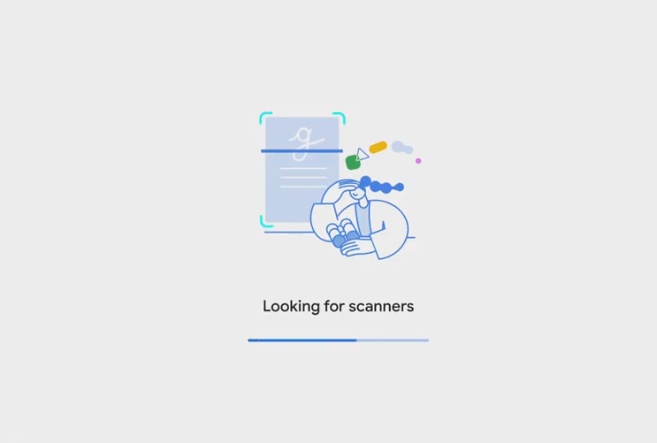
- Wait for the Chromebook to search for the connected scanners.

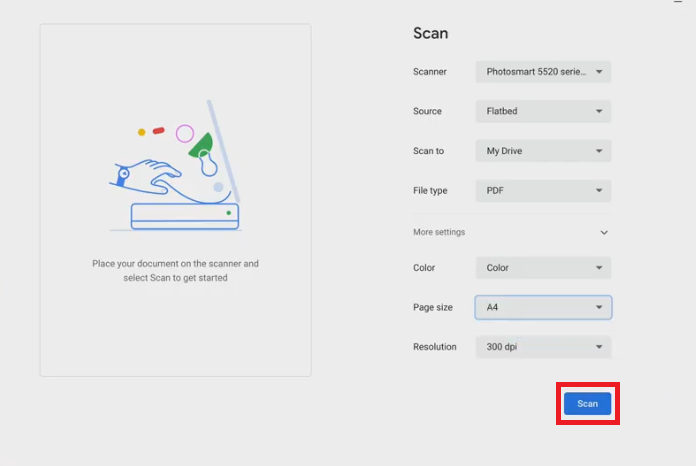
- You can now see the Scanner your Chromebook is connected to. If you want you can choose the source type, location to save the scanned file, output file type for the scanned document, etc. Finally, place the document you want to scan into your scanner and click on the ‘Scan’ button.

- Wait for the scanning of the document to complete.

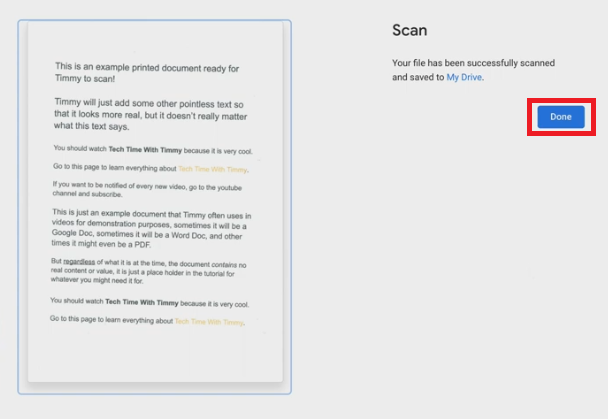
- When the document scan is completed, you will see the message that the scanned file has been saved in your specified location. Click on the ‘Done’ button to confirm the completion of the scanning process. You can perform the above steps for scanning as many documents as you want.

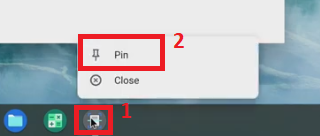
- If next time you want to access the Scan application in just one-click, then right click the ‘Scan app icon’ below and choose ‘Pin’ option to permanently fix that icon at its place.


That’s it, you have successfully scanned the document through a printer / scanner on Chromebook.
Now you know how to scan documents through a printer / scanner on a Chromebook. As you can see the whole scanning process is really simple, but you need to follow the steps in their correct order to get the desired results.